个人博客(二): Hugo框架Loveit主题自定义美化

启动Hugo
首先要以debug的模式启动Hugo,这样本地改动之后可以立即应用到页面上
$ hugo serve --disableFastRender
在Hugo中,如果你要覆盖原来的css,就要把主题的css样式按完全相同的路径copy到自己目录下。以下我将只列出我自己copy的路径
1. 自定义导航栏图标
Loveit提供配置config.toml,可以在导航栏的前后增加图标,以下是我的配置,这里有个坑的地方是要用单引号,不然会编码错误。
[menu]
  [[menu.main]]
    weight = 1
    identifier = "posts"
    # 你可以在名称 (允许 HTML 格式) 之前添加其他信息, 例如图标
    pre = '<i class="fa-solid fa-book" style="color: #2f4154;"></i>'
    # 你可以在名称 (允许 HTML 格式) 之后添加其他信息, 例如图标
    post = ""
    name = "Posts"
    url = "/posts/"
    # 当你将鼠标悬停在此菜单链接上时, 将显示的标题
    title = "Posts"
  [[menu.main]]
    weight = 2
    identifier = "categories"
    pre = '<i class="fa-solid fa-folder" style="color: #2f4154;"></i>'
    post = ""
    name = "Categories"
    url = "/categories/"
    title = "Categories"
  [[menu.main]]
    weight = 3
    identifier = "about"
    pre = '<i class="fa-solid fa-user" style="color: #2f4154;"></i>'
    post = ""
    name = "About"
    url = "/about/"
    title = "About"
效果如下:

2. 自定义logo字体
logo的字体是一个全局变量,Loveit中的全局变量存在文件blog\assets\css\_variable.css中,这里我用了google font,写入以下:
@import url('https://fonts.font.im/css?family=Kaushan+Script');
$header-title-font-family: 'Kaushan Script', cursive;
注意,有些时候效果可能会有点延迟。效果如下:

3. 自定义图片展示样式
图片样式的设置在文件blog\assets\css\_page\_single.scss
我想要的样式是图片铺满,有一些阴影的效果,以下是我的设置:
img {
  max-width: 100%;
  min-height: 1em;
  // =====My Custom====
  margin: 2rem auto;
  display: block;
  box-shadow: 0 5px 11px 0 rgba(0,0,0,0.18), 0 4px 15px 0 rgba(0,0,0,0.15) !important;
  border-radius: 3px;
  // =====My Custom====
}
最后出来的效果就是这样的:

Hugo有提供figure & image来支持画廊的模式,我最终决定不采用,1是因为这样破坏了markdown的语法,2是因为我目前没有需要展示很多值得点开去放大的照片的需求,因此这里仅仅只是调整图片的样式。
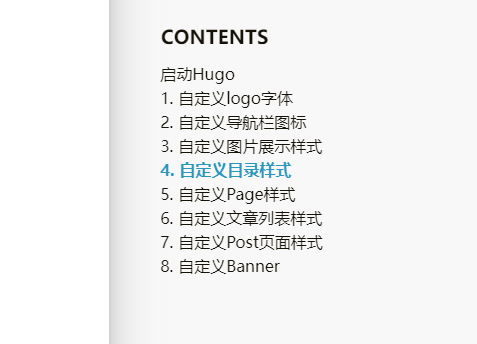
4. 自定义目录样式
CSS文件的路径是blog\themes\Loveit\assets\css\_partial\_single\_toc.scss。目录方面我的调整是把竖线去掉,然后稍微调整了一下灰色竖线的距离目录文件的距离,以及目录的位置。
// contents: "|"; 去掉小标题的左边界

#toc-auto {
  padding: 0 2rem; // 加宽左右边界
  // border-left: 4px solid $global-border-color; 去掉左边界
}
调整之后的目录如下所示:

5. 自定义Page样式
CSS文件的路径是blog\themes\Loveit\assets\css\_page\_index.scss。我调整了width,设置了padding,加了个人喜欢的带阴影的风格:
.page {
  max-width: 880px;
  margin-bottom: 100px;
  padding-bottom: 100px;

  // 小于680px的时候不改
  @media only screen and (min-width: 680px) {
    padding-left: 5%;
    padding-right: 5%;
    border-radius: 1.5rem;
    box-shadow: 0 12px 50px 0 rgba(0,0,0,0.18), 0 4px 15px 0 rgba(0,0,0,0.15) !important;
  }
}
为了自适应手机端的样式,需要修改blog\themes\Loveit\assets\css\_core\_layout.scss:
.wrapper {
  main {
    .container {
      padding: 0 1.75rem; // increase padding
      @media only screen and (max-width: 680px) {
        background-color: #fff; // set the backgroud as white when mobile
      }
    }
  }
}
6. 自定义文章列表样式
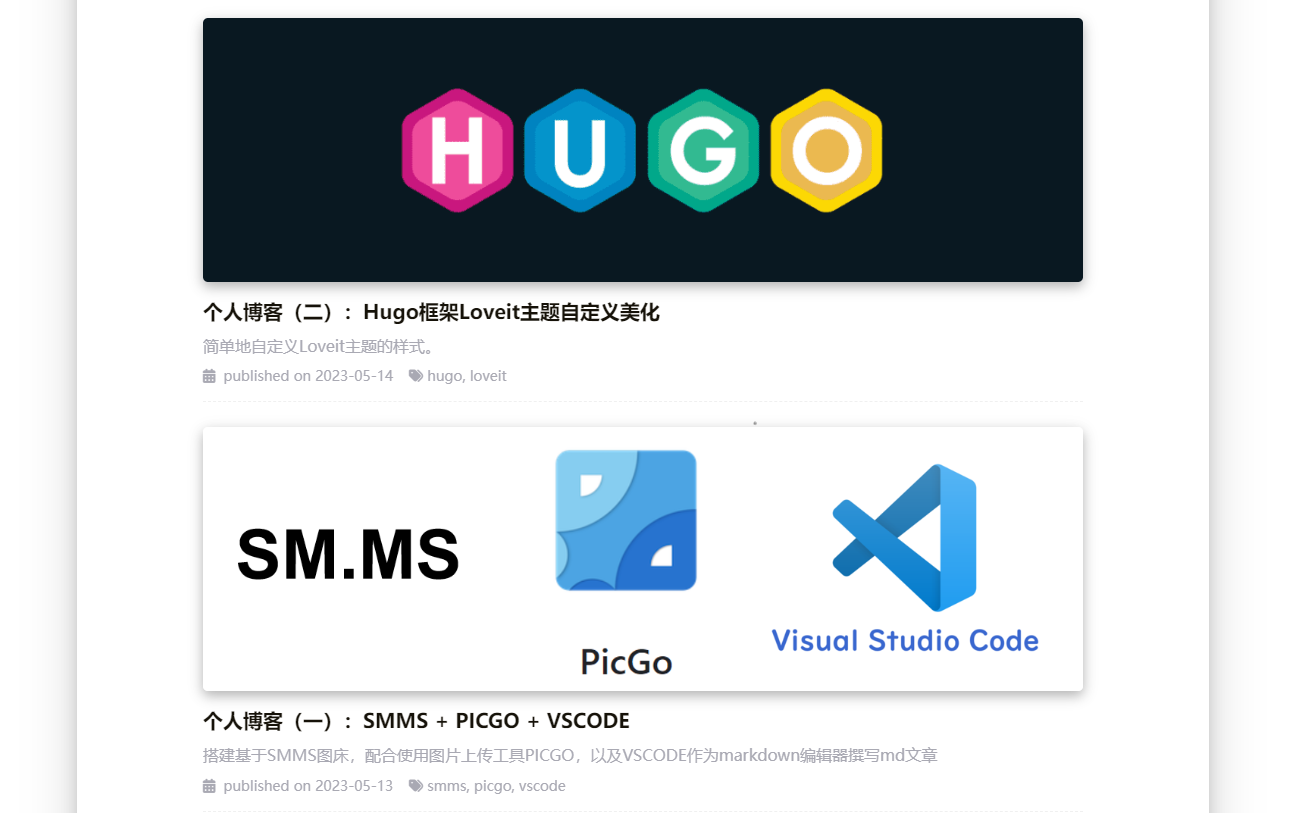
个人比较喜欢极简的风格,原来的卡片样式颜色太多,然后排版也乱,于是自己再重新设计了以下,成果如下:

需要修改layout部分的blog\themes\Loveit\layouts\_default\_summary.html以及_home.css,这里主要展示_summary.html的修改:
{{- /* Meta */ -}}
<div class="post-meta">
    <!-- 去掉作者信息展示 -->
    <!-- {{- $author := $params.author | default .Site.Author.name | default (T "author") -}}
    {{- $authorLink := $params.authorlink | default .Site.Author.link | default .Site.Home.RelPermalink -}}
    <span class="post-author">
        {{- $options := dict "Class" "author" "Destination" $authorLink "Title" "Author" "Rel" "author" "Icon" (dict "Class" "fas fa-user-circle fa-fw") "Content" $author -}}
        {{- partial "plugin/a.html" $options -}}
    </span> -->
    <!-- 去掉作者信息展示 -->
</div>
    {{- /* Footer */ -}}
<div class="post-footer">
    <!-- 去掉阅读更多的超链接 -->
    <!-- <a href="{{ .RelPermalink }}">{{ T "readMore" }}</a> -->
    <!-- 去掉阅读更多的超链接 -->

</div>
7. 自定义Post页面样式
同样的,我想把文章开头的作者去掉,以及文章结尾的一些配置都去掉:
修改\blog\layouts\posts\single.html
<div class="post-meta">
    <div class="post-meta-line">
        <!-- 去掉作者信息展示 -->
        <!-- {{- $author := $params.author | default .Site.Author.name | default (T "author") -}}
        {{- $authorLink := $params.authorlink | default .Site.Author.link | default .Site.Home.RelPermalink -}}
        <span class="post-author">
            {{- $options := dict "Class" "author" "Destination" $authorLink "Title" "Author" "Rel" "author" "Icon" (dict "Class" "fas fa-user-circle fa-fw") "Content" $author -}}
            {{- partial "plugin/a.html" $options -}}
        </span> -->
        <!-- 去掉作者信息展示 -->
    </div>
</div>
修改blog\layouts\partials\single\footer.html为:
<div class="post-info-mod">
<span>
<!-- 去掉上次修改时间以及提交时间 -->
<!-- {{- with .Site.Params.dateformat | default "2006-01-02" | .Lastmod.Format -}}
{{- dict "Date" . | T "updatedOnDate" -}}
{{- if $.Site.Params.gitRepo -}}
{{- with $.GitInfo -}}
<a class="git-hash" href="{{ printf `%v/commit/%v` $.Site.Params.gitRepo .Hash }}" target="_blank" title="commit by {{ .AuthorName }}({{ .AuthorEmail }}) {{ .Hash }}: {{ .Subject }}">
<i class="fas fa-hashtag fa-fw" aria-hidden="true"></i>{{- .AbbreviatedHash -}}
</a>
{{- end -}}
{{- end -}}
{{- end -}} -->
<!-- 去掉上次修改时间以及提交时间 -->
</span>
</div>
<div class="post-info-more">
<!-- 去掉tags 和back|home -->
<!-- <section class="post-tags">
{{- with .Params.tags -}}
<i class="fas fa-tags fa-fw" aria-hidden="true"></i>
{{- range $index, $value := . -}}
{{- if gt $index 0 }}, {{ end -}}
{{- $tag := partialCached "function/path.html" $value $value | printf "/tags/%v" | $.Site.GetPage -}}
<a href="{{ $tag.RelPermalink }}">{{ $tag.Title }}</a>
{{- end -}}
{{- end -}}
</section>
<section>
<span><a href="javascript:void(0);" onclick="window.history.back();">{{ T "back" }}</a></span> | <span><a href="{{ .Site.Home.RelPermalink }}">{{ T "home" }}</a></span>
</section> -->
<!-- 去掉tags 和back|home -->
</div>
最后的效果如图:


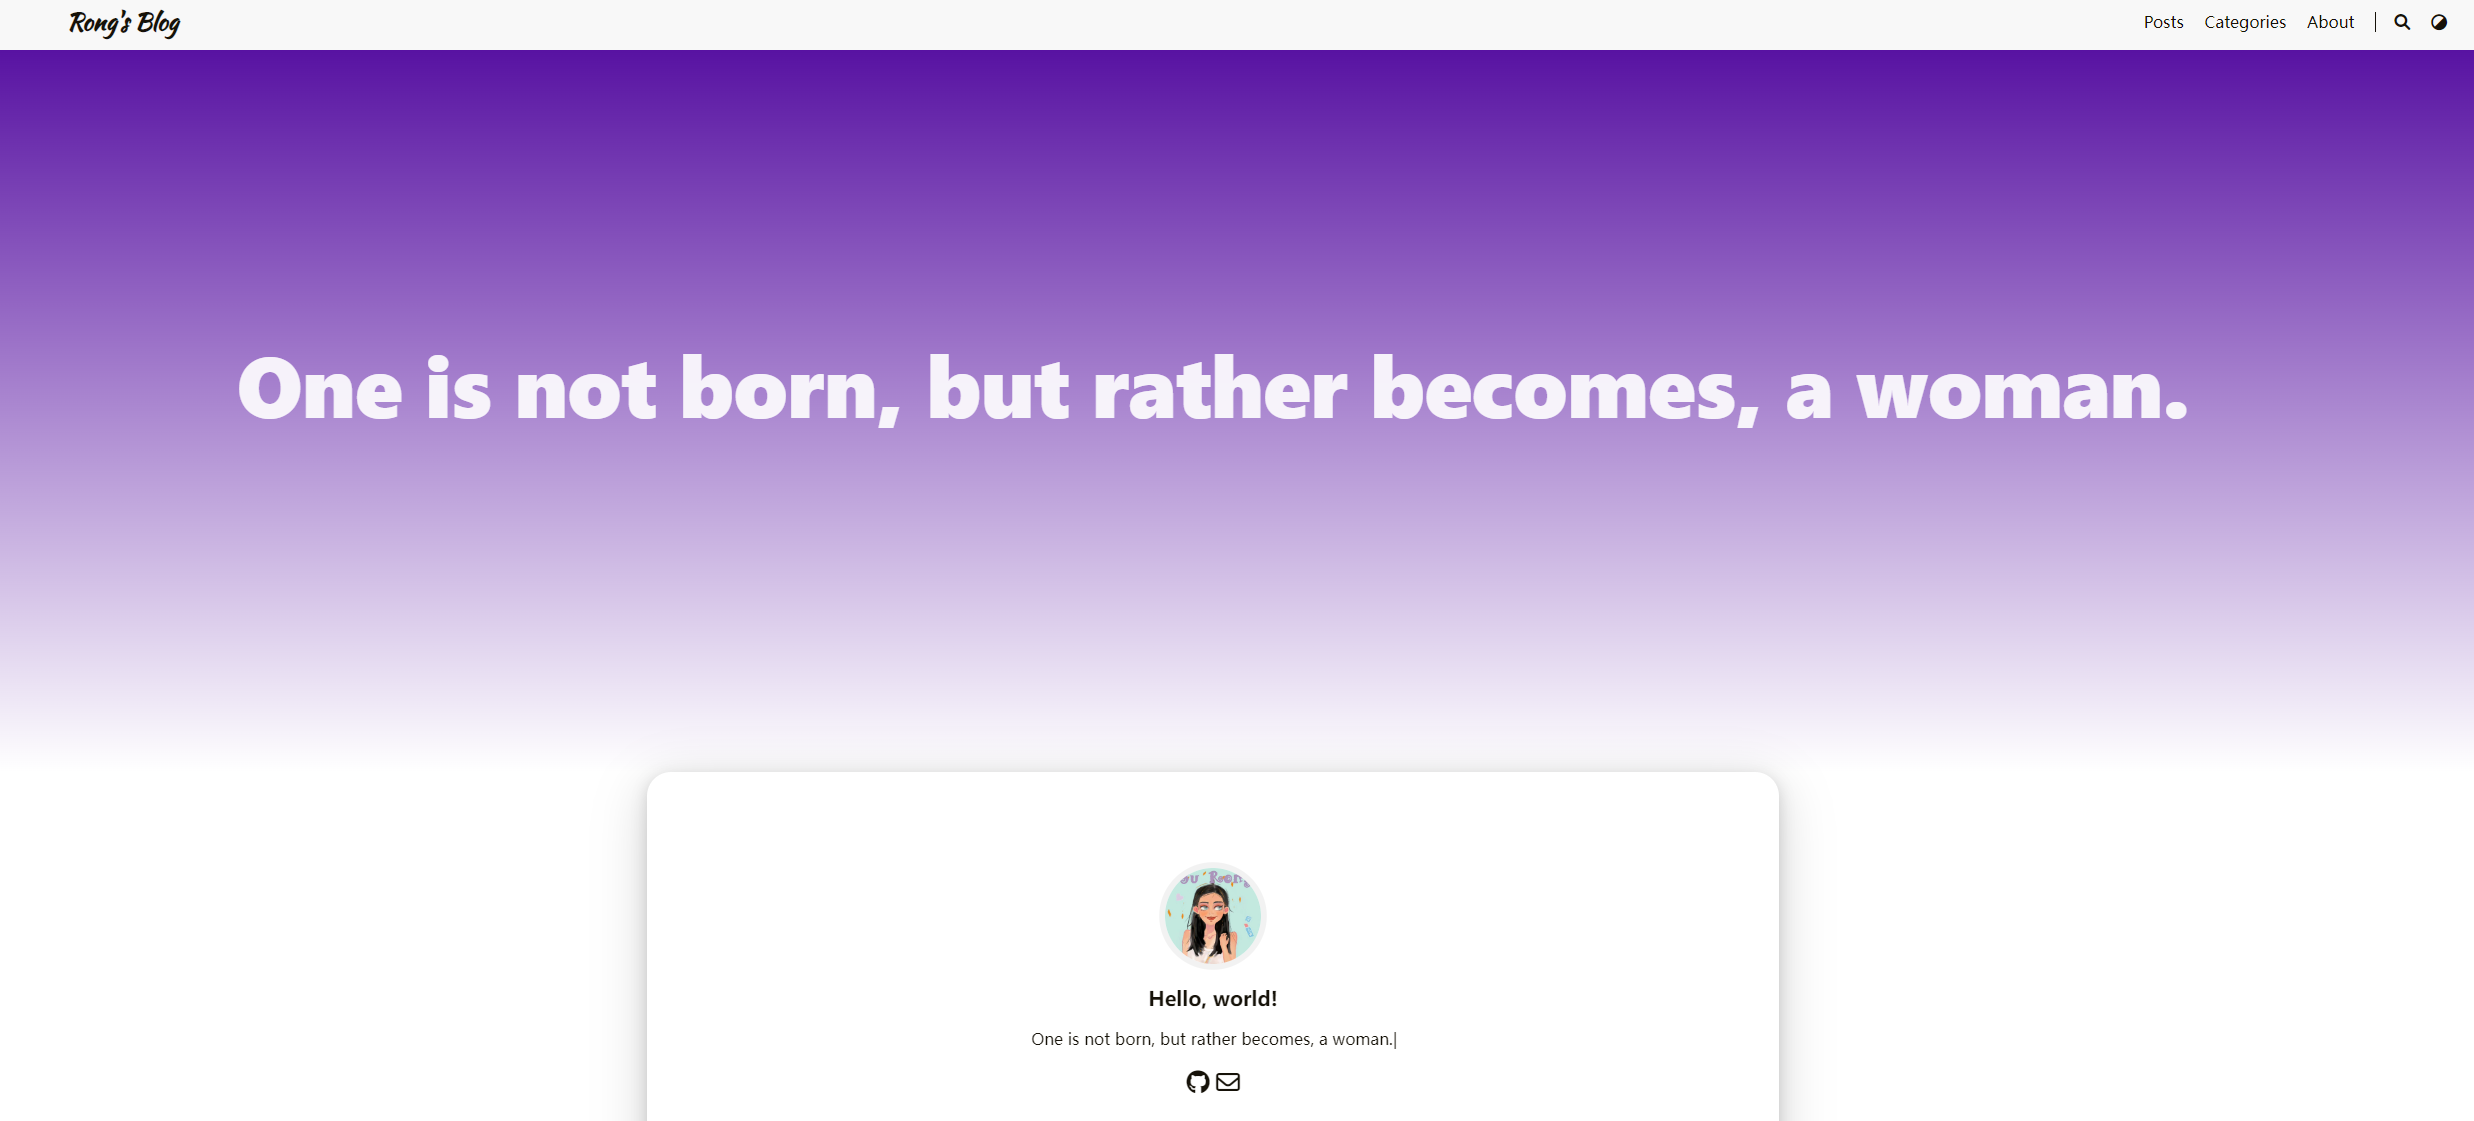
8. 自定义Banner
需要在main 和 container中间插入banner,因此要修改blog\layouts\_default为:
{{- /* Body wrapper */ -}}
<div class="wrapper">
    {{- partial "header.html" . -}}
    <!-- 插入banner -->
    {{- partial "banner.html" . -}}
    <!-- 插入banner -->
    <main class="main">
        <div class="container">
            {{- block "content" . }}{{ end -}}
        </div>
    </main>
    {{- partial "footer.html" . -}}
</div>
然后再添加自己的partial文件:blog\layouts\partials\banner.html
<head>
    <!-- 自定义css -->
</head>
<div class="banner">
    <div class="title">
        One is not born, but rather becomes, a woman.
    </div>
</div>
效果如下:
 因为添加banner之后会影响TOC,所以TOC的css也需要改以下
#toc-auto {
  display: block;
  // position: absolute; 设置根据父容器的位置
  width: 10000px;
}